Me
This weekend my sister and I took a trip out to Apple Annie’s which is an orchard and produce farm about 90 minutes out of Tucson. You would think that having lived my entire life in the area and a large portion or it considerably closer to Apple Annie’s than I am now that I would have been before but sad to say this was my first visit. And let me tell you both of us were like kids in a candy store!

My Sister
I will not share the exact amount that was spent but our haul was magnificent with several projects in mind. One of which, and the most important one, is the apple butter of our youth. Apple Annie’s is divided into two main areas. There are their orchards which consist of many varieties of apples, a few varieties of pears and peaches. Also, located at the orchard is the gift shop and bakery where they have several varieties of apple pies, apple bread, fudge and canned goods galore. On this trip we picked over 30 lbs of apples including golden delicious, Rome beauties and granny smiths and then over 20 lbs of absolutely beautiful Asian pears. Of course we couldn’t leave without getting a pie, some bread, fudge and the fresh apple cider needed for the apple butter (ok, ok I know this part wasn’t exactly healthy but you can’t be good ALL the time).

Next we headed over to the produce stand where they have fields of you-pick vegetables of all sorts along with the biggest pumpkin patch I have ever seen and a very large corn maze. Yet again we went a bit over board on the veggies but they all looked so wonderful we couldn’t resist. I got acorn squash, spaghetti squash, butternut squash, pickling cucumbers, green beans, tomatoes, patty pan squash (the perfect size for stuffing), sweet corn, jalapeños, a regular pumpkin and a pie pumpkin. It was a very “fruitful” visit to the farm and we are both looking forward to all the things that we will be making, enjoying and sharing with friends and family. So to each of you I say visit your local orchards, produce stands, farmers markets and you-picks to get some fresh local yumminess and more importantly make some memories 🙂

Apples and Asian Pears
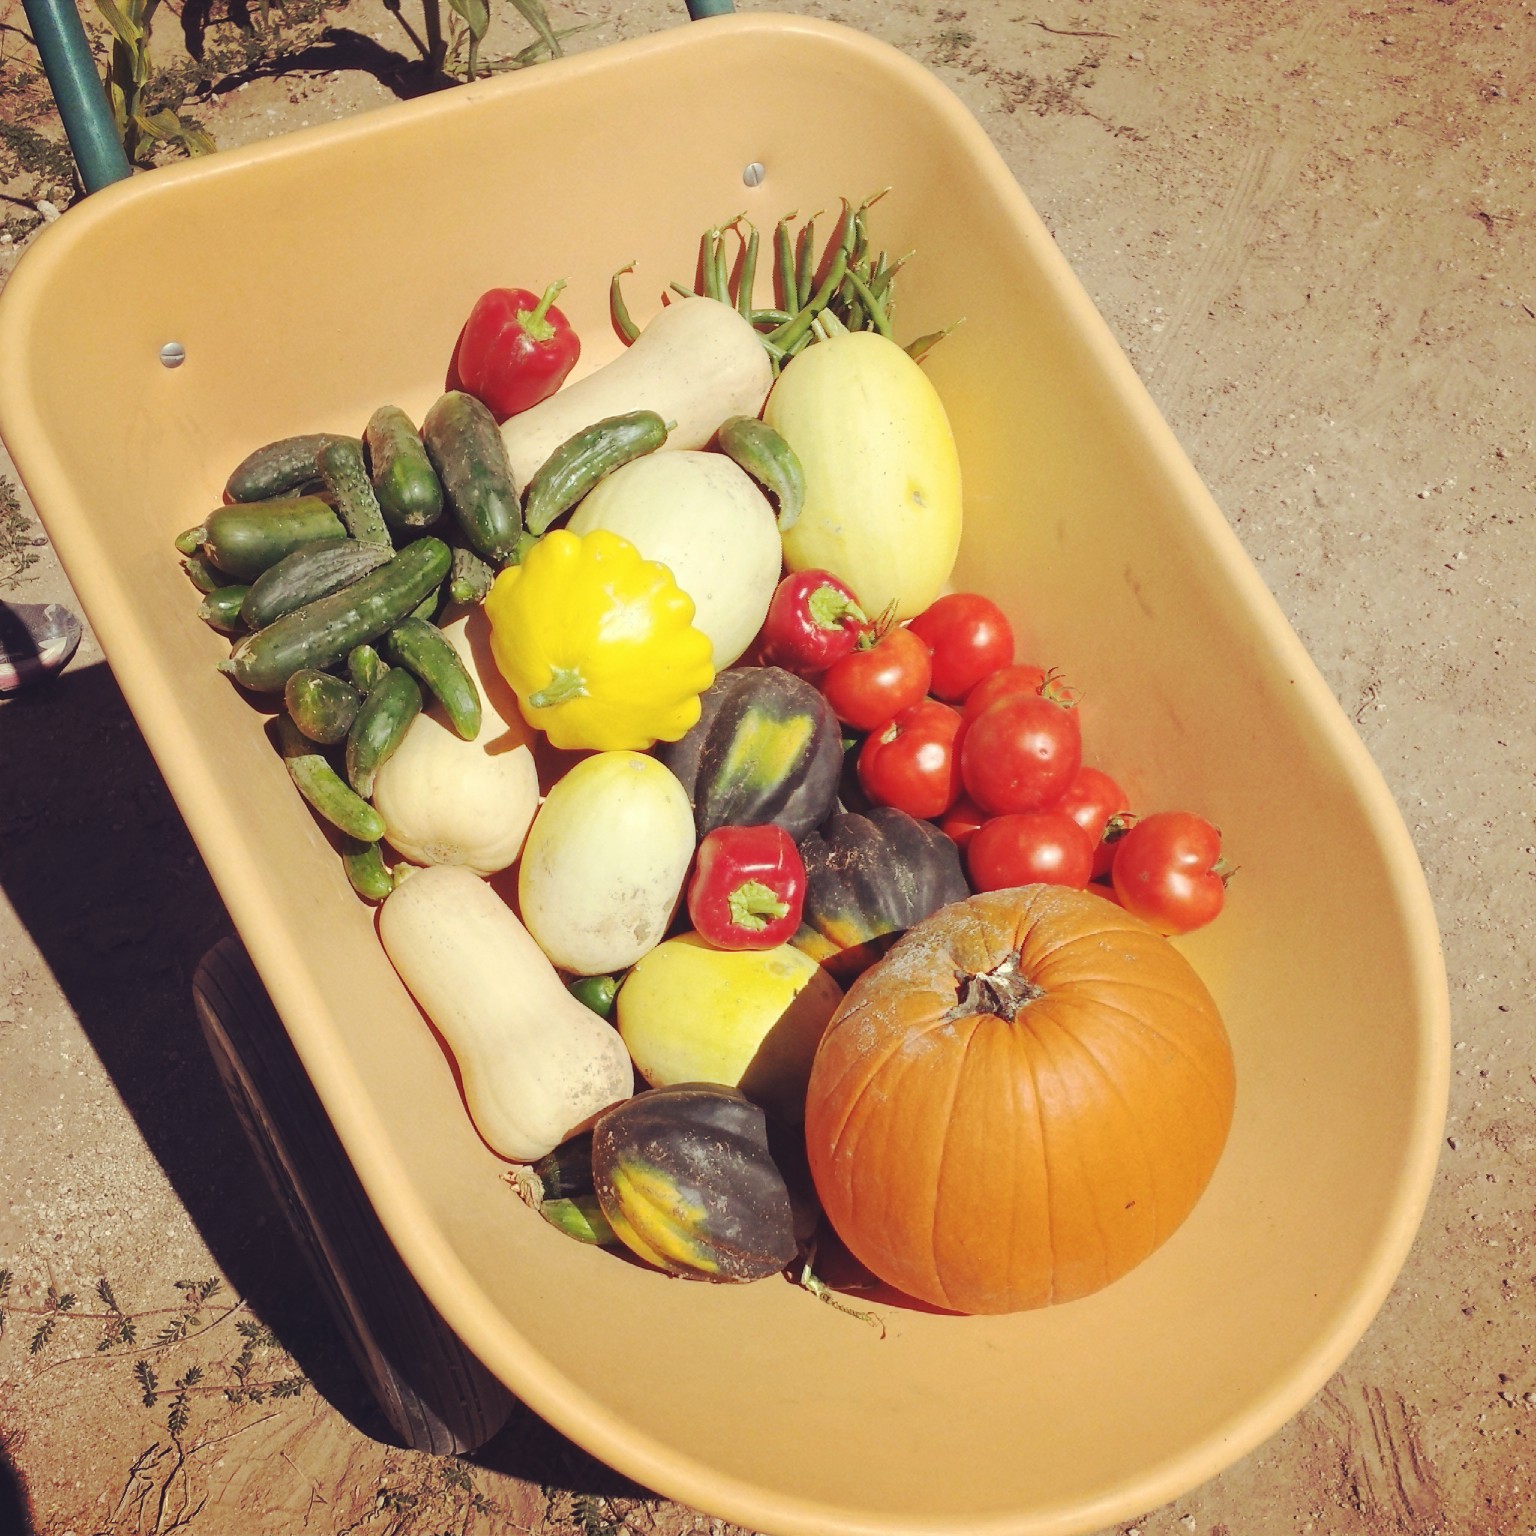
Veggies